

With Cody recording in Stillwater and Mason tucked away at a sleepover, I spent Sunday am in my studio lost in Alpha-Bliss. I initially thought I would sort beads again, but then I decided to make a pair of Jellyfish earrings instead.
When it comes to enamel, freshly pickled, slightly domed and lightly sanded pieces of copper are the cheapest, best bet. I cut the body forms then drilled the tiny holes with my pen drill. I didn't measure the copper thickness but I think it is probably about 20 gauge.


Enamel must be fired on special trivets that lift in and out of the kiln easily. It's best if the enamel and the copper edges do not touch actually the trivet, otherwise glass will fuse the piece to the metal or cause dent marks. Transferring from station to trivet to kiln is precarious. One tiny bump sends minutes of placing fine glass grains down the toilet. I did this at least twice while making these. The photo on the right shows the first side coated with gold shimmer clear and one of the back sides freshly scrubbed and waiting for counter enamel. Any layers you add to one side of the metal you must do to the other or the glass will be unstable. So why does it look so red? The copper interacts with the class. Below you can see a hot trivet cooling. The edges of the copper after the first firing must be cleaned, or they will stay dark forever. The exposed Copper oxidizes with the heat so if you add glass on top of the oxidation, well, it's there forever. Lucky for me, I like the look of darkened edges.


It was about right at this step that I realized I forgot to drill holes in the Jelly bodies for the ear wires! So, I got to hand drill through metal while trying not to crack the glass. Some did crack, so I just re-fired and hoped for the best. When the layers of glass are is thick enough it can migrate and cover holes. This equals more drilling. Lots of firing, lots of drilling. I actually used 5 kinds of enamel to make these earrings and fired at least 10 times. My kiln spent 3 hours at 1500 degrees.

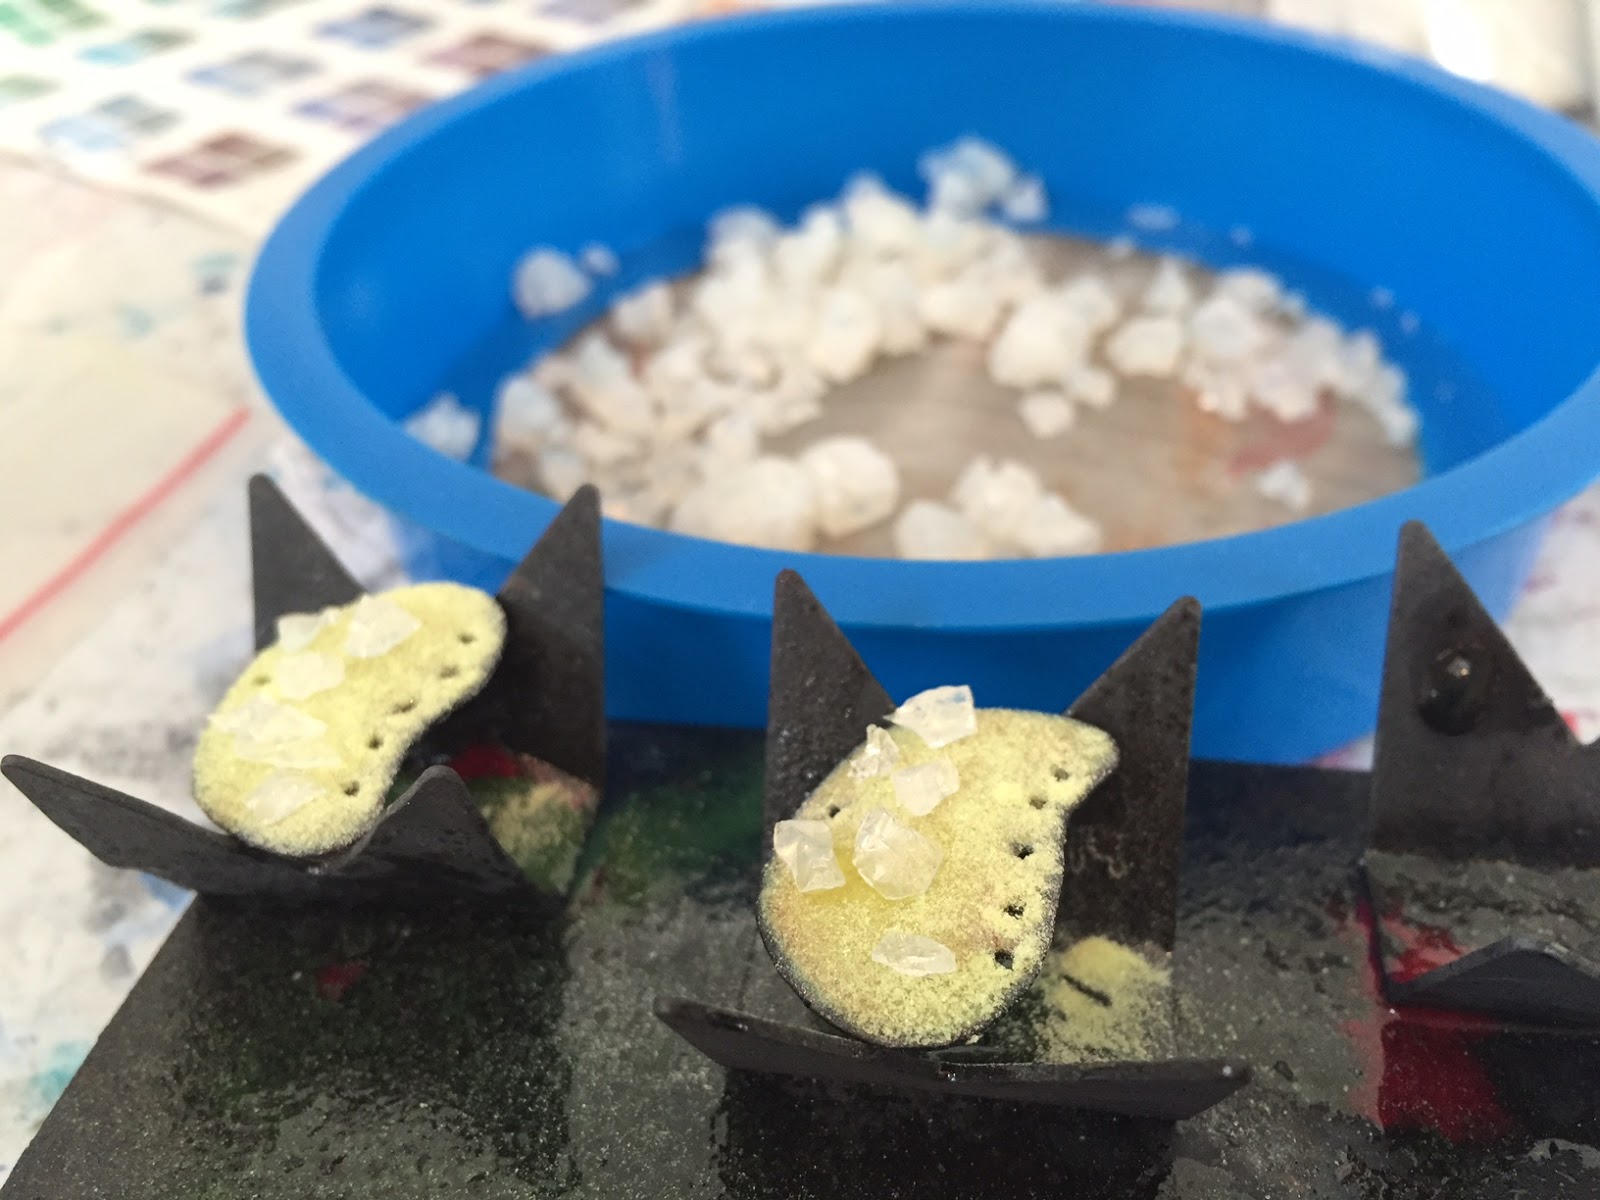
I added more green to these before adding some rock opal glass for texture/variety and fired one last time.
I then balled 6 pieces of silver wire and flattened the bottoms of 4 pieces of silver wire, added beads, hammered at the straights and looped on the tendrils to finish the earrings.


About four hours later, I'm pretty pleased with them.

I just stuck with the shimmering clear coat on the backs, which works well with the blues & amber chips on the tendrils. See how I hammered part of the silver wires flat? See how I added jump rings then the tendrils? Both of these steps make the tendrils actually swing and dangle more like tendrils. The photo below shows the pair of earrings I found in an auction that I based my design on. Since the enamel was damaged in the auction pair, I decided I'd rather make my own than bid on them. I do love the design!

1 comment:
Oooh! I love these!
Post a Comment